Flying with Insulin: Essential TSA Tips for 2025
You’re standing at airport security, watching other passengers breeze through with their tiny toiletry bags while you’re clutching a cooler full of life-saving medication.
Sound familiar? If you’re one of the 38+ million Americans living with diabetes, you’ve probably felt that knot in your stomach before traveling. But here’s what might surprise you – flying with insulin is actually way easier than most people think!
I get it. The first time I helped a fellow traveler navigate TSA with her supplies, I could tell she was a nervous wreck. Would they confiscate the insulin? What about the needles? Fast-forward to today, and that same friend is a globe-trotting pro who’s mastered the art of diabetic travel.
The truth is, TSA agents see diabetic travelers every single day. They know the drill, they have specific protocols, and yes – there are actually special exemptions designed just for you!
Ready to discover how today’s TSA rules actually work in your favor? Let’s dive in – and for a deeper dive, read Traveling with Injectable Medication!
1. What TSA Really Allows (It’s Better Than You Think)
Good news: Insulin is NOT subject to the 3-1-1 liquid rule. You can bring as much as you need, plus extras!
1.1 What TSA Actually Says About Insulin
Insulin falls under “medically necessary liquids” – meaning it gets special treatment. No tiny bottles required, and it doesn’t go in that quart-sized bag with your toiletries.
Even better? Your insulin doesn’t have to go through X-ray if you prefer visual inspection instead.
📌 Quick Answer for Travelers with Insulin
✔️ Yes—you can fly with insulin and syringes in your carry-on.
✔️ TSA exempts insulin from the 3-1-1 liquids rule but you must declare it.
✔️ Keep insulin in labeled packaging and bring a doctor’s note for faster screening.
✔️ Use a TSA-approved cooler or gel packs to protect insulin from heat or freezing.
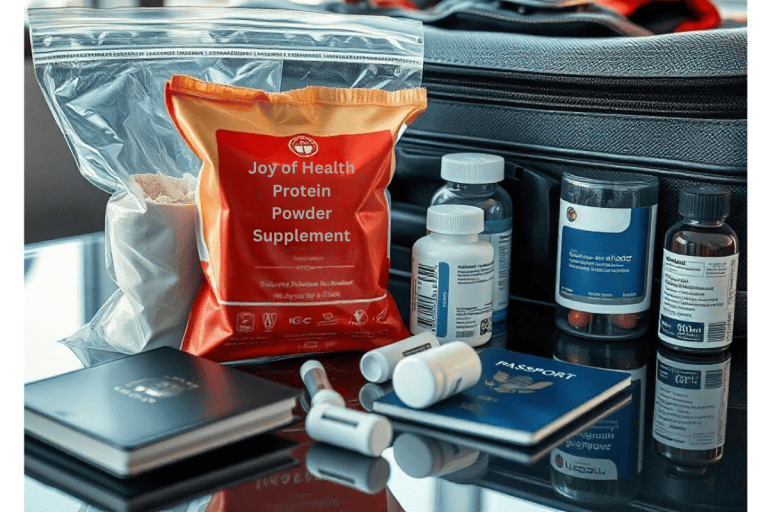
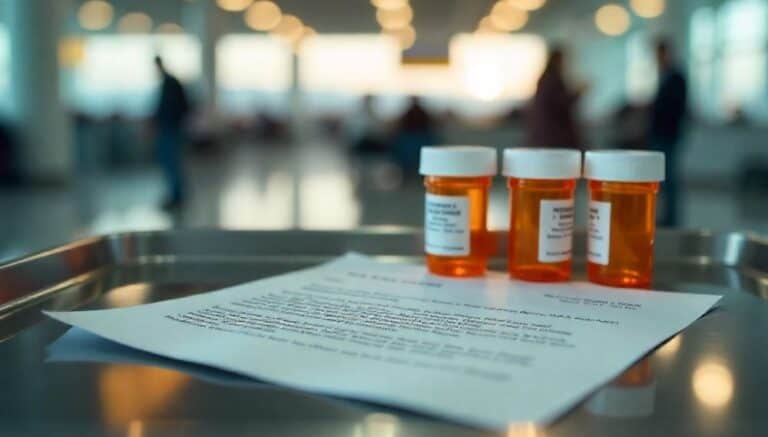
1.2 Essential Documentation You’ll Need
Keep insulin in original pharmacy packaging with your prescription label visible. That’s it! For international travel, bring a doctor’s letter explaining your condition.
2. Your Smart Packing Strategy
Packing insulin isn’t rocket science, but a few smart moves will save you major headaches. Here’s your game plan.
2.1 Carry-On vs. Checked Baggage (This One’s Easy)
Never, ever put insulin in checked luggage. Cargo holds can freeze or overheat, turning your life-saving medication into expensive liquid waste. Everything diabetes-related goes in your carry-on, period.
Pack at least double what you need for your trip. Flight delays happen, adventures extend, and Murphy’s Law loves travelers with medical conditions.
2.2 Temperature Control That Actually Works
For short flights under 6 hours, a simple insulated bag with gel packs works fine. But for longer journeys or extreme climates, investing in a quality insulin cooling case can be a game-changer.
Premium cooling cases maintain precise temperatures for 24-48 hours without electricity, giving you peace of mind during long travel days or unexpected delays. Look for cases with dual cooling zones and temperature monitoring.
Room temperature insulin (unopened vials/pens) stays good for about a month, so short trips require minimal cooling. Just avoid extreme heat and freezing temperatures.
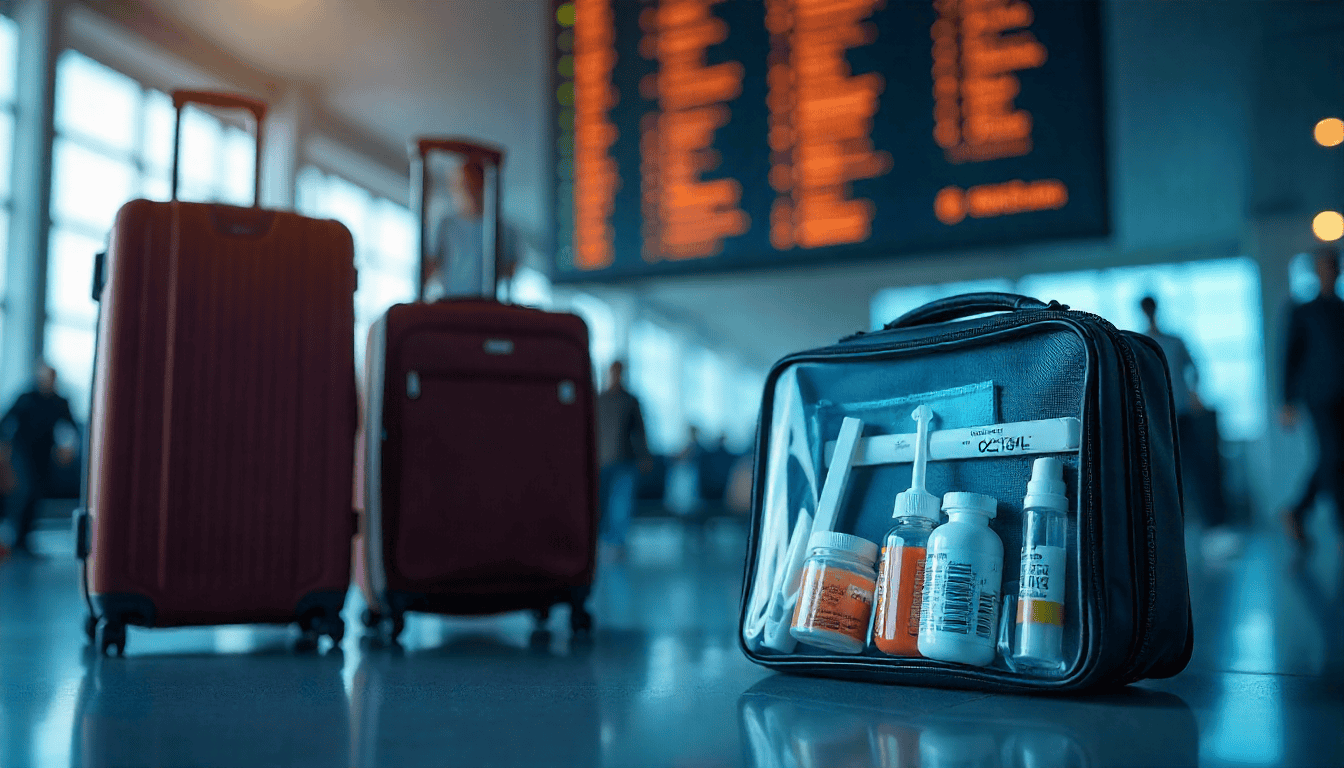
2.3 Organizing for Security Success
Use a clear, dedicated pouch for all diabetes supplies. TSA agents can quickly see everything without digging through your bag. Include:
- All insulin (in original packaging)
- Blood glucose meter and test strips
- Lancets and syringes/pen needles
- Glucose tablets or snacks
- Prescription copies
Label everything clearly and keep supplies together – scattered diabetes gear slows down security screening.
3. Navigating Airport Security Like a Pro
Security doesn’t have to be stressful when you know the process. Here’s how to breeze through checkpoints with confidence.
3.1 Before You Reach the Checkpoint
I always suggest arriving 15-20 minutes earlier than usual – not because security takes forever, but because rushing with medical supplies creates unnecessary stress. Have your diabetes supplies organized in that clear pouch we talked about, and keep your prescription documentation easily accessible.
If you’re using an insulin pump or CGM, notify TSA that you’re wearing medical devices before screening begins.
🛡️ Airport Security for Diabetic Travelers
Your step-by-step guide to stress-free screening
Prepare Supplies
Organize diabetes supplies in clear pouch. Keep prescription labels visible.
Before arrivalApproach Checkpoint
Have diabetes supplies easily accessible at the top of your carry-on in a pouch.
Standard timeDeclare Supplies
“I’m traveling with diabetes medications.” Mention pumps/CGMs.
30 secondsSeparate Bin
Place diabetes pouch in separate bin. Don’t bury with other items.
1 minuteAdditional Screening
A visual inspection or swab test may be conducted after your equipment goes thru x-ray. This is routine.
1-2 minutesCollect & Continue
Retrieve supplies and head to gate.
Complete!© 2025 www.TheKeenInsider.com
3.2 The Actual Security Process
Place your diabetes supply pouch in a separate bin – don’t bury it in your laptop bag. Tell the agent “I’m traveling with diabetes medications” as you approach. Most will simply nod and proceed with standard additional screening.
For insulin pumps and CGMs, you can request a pat-down instead of going through body scanners. The devices won’t be damaged by X-rays, but some people prefer avoiding them entirely.
3.3 If Things Get Complicated
Occasionally, you might encounter an agent unfamiliar with diabetes travel rules. Stay calm and politely ask to speak with a supervisor. TSA agents receive training on medical exemptions, but human error happens.
Never let anyone separate you from your insulin or diabetes supplies. You have the right to keep these items with you throughout the screening process.
3.4 Quick Security Checklist
✅ Diabetes supplies in clear, separate pouch
✅ Prescription labels visible on all medications
✅ Arrive 30 minutes early
✅ Declare medical devices before screening
✅ Keep doctor’s letter handy (especially international travel)
✅ Never pack insulin in checked luggage
✅ Bring backup supplies (double your normal needs)
✅ Have emergency contact info readily available
4. International Travel with Insulin
Crossing borders adds complexity, but proper preparation makes international travel totally manageable for diabetic travelers.
4.1 Research Before You Go
Different countries have varying rules about bringing medications across borders. Some require advance notification, others need specific documentation. Check your destination’s customs website or contact their embassy at least 4 weeks before departure.
European Union countries are generally diabetes-friendly, while some Asian countries require additional paperwork. Always verify current requirements – rules change frequently.
4.2 Essential Documentation for Border Crossings
Get a letter from your doctor on official letterhead stating your diagnosis, required medications, and medical devices. Include generic drug names alongside brand names – insulin aspart instead of just “NovoLog.”
Have prescriptions translated into the local language for non-English speaking countries. Many pharmacies offer translation services, or use certified medical translation services online.
4.3 Time Zone Management Strategy
Time zone changes require careful planning with your healthcare team. Your doctor can help create a specific adjustment plan based on your insulin regimen and travel schedule.
Generally, eastward travel (shorter days) may require timing adjustments, while westward travel (longer days) might need dosage considerations. Every person’s needs are different.
4.4 Finding Supplies Abroad
Research pharmacy chains at your destination and save addresses in your phone. Many countries sell insulin over-the-counter, though concentrations and brands may differ.
International SOS and similar travel medical services can help locate supplies in emergencies, especially if you have travel insurance with medical coverage.
4.5 International Travel Checklist
✅ Doctor’s letter with diagnosis and medications
✅ Prescriptions translated to local language
✅ Extra supplies for 2+ weeks beyond trip length
✅ Travel insurance with medical coverage
✅ Emergency contact list (doctor, pharmacy, insurance)
✅ Local pharmacy addresses saved in phone
✅ Time zone adjustment plan from your doctor
✅ Customs declaration forms completed honestly
✅ Backup insulin stored separately from main supply
✅ International electrical adapters for devices
5. Pro Tips from Experienced Diabetic Travelers
🛫 Before you Fly
Call airline 24-48 hours ahead → Request diabetic meals (or pack your own!)
Mention insulin pumps/CGMs → Gets noted in your file for faster security
✈️ During Flight
Pack reliable snacks → Granola bars, crackers, glucose tablets
Airplane meals = unpredictable → Know your carb counts!
⏰ Flight Delays = Danger Zone
Pack 24-48 hours EXTRA supplies → Your biggest travel insurance
Know airport pharmacy locations → Temperature control backup plan
Split insulin between bags → Never put all eggs in one basket
📱 Tech That Actually Helps
MySugr/Glucose Buddy → Track patterns during irregular schedules
TimeZone iOS app → Calculate medication timing across zones
Smartphone thermometers → Monitor insulin temp during layovers
🤝 Build Your Support Network
Find endos in frequent cities → Remote consultations for emergencies
Join TuDiabetes + Facebook groups → Real-time airport/airline advice
6. Common Mistakes to Avoid When Flying with Insulin
❌ Deadly Mistake #1: Checked Luggage
NEVER pack insulin in checked bags → Cargo holds freeze/overheat
Result: $300+ of ruined medication → Trip disaster
Fix: Everything diabetes-related in carry-on, always
❌ Deadly Mistake #2: “I’ll Be Fine” Syndrome
Packing exactly what you need → Murphy’s Law loves diabetics
Flight delays + no backup = Emergency room visit
Fix: Pack double everything, minimum
❌ Deadly Mistake #3: Mystery Medications
Transferring insulin to unmarked containers → TSA nightmare
No prescription labels = Confiscation risk
Fix: Keep original pharmacy packaging always
❌ Deadly Mistake #4: Temperature Roulette
“It’s only a few hours” → Famous last words
Hot car, sunny window, frozen cargo = Dead insulin
Fix: Temperature control from door to door
❌ Deadly Mistake #5: Last-Minute Panic
Packing night before travel → Forgotten essentials
No documentation ready → Security delays
Fix: Pack 48 hours early with checklist
🚨 Result of These Mistakes:
➡️ Emergency room visits in foreign countries
➡️ $1000s in replacement medication costs
➡️ Ruined vacations and missed business
➡️ Dangerous blood sugar episodes
7. Wrap Up
Look, I’m not going to tell you that flying with diabetes is “easy” – because honestly, it’s not. There are extra steps, extra planning, and yes, extra worry. But here’s what I’ve learned from countless diabetic travelers: the fear is usually worse than the reality.
That first trip? You’ll probably overpack and arrive at the airport two hours early. Your second trip, you’ll feel more confident. By your fifth trip, you’ll be the person helping other nervous diabetic travelers at security.
The TSA agents have seen it all before. The airlines have protocols. Your insulin is tougher than you think (though don’t test that theory). And most importantly – you’re capable of handling whatever comes up.
Start small if you need to. A weekend trip to a nearby city. Then maybe something longer. Before you know it, you’ll be planning that European adventure or beach vacation you’ve been putting off.
Your diabetes doesn’t get to decide where you can and can’t go. You do.
Safe travels!